NVR Firmware Update
This error message typically occurs when the NVR (Network Video Recorder) does not have the most recent firmware update installed. The firmware update adds an "initialize" option to the Camera Registration page in the camera menu on most NVRs. To resolve the issue, it is recommended to check our Latest Firmware list and download the appropriate firmware update for your specific recorder.
*It's important to note that some older NVR models, particularly those manufactured before 2014, may not have the "initialize" option available in the camera menu. In such cases, you will need to manually initialize the camera instead of relying on the firmware update.
If there are multiple firmware updates listed, it is advised to apply the oldest one first before proceeding with the newer updates. This ensures a smooth and successful firmware update process. By keeping your NVR firmware up to date, you can take advantage of the latest features, improvements, and bug fixes.
If you see more than one update, apply the oldest one first.
This is the recommended method because older machines, which do not have these updates, will use "admin" as both the username and password during the Plug and Play process to log in to the camera. However, it's important to note that if the machine is rebooted, it will not remember the longer 8-character password requirement that is present in current IP camera models.
Config Tool Method
To initialize a camera, you will require a laptop equipped with Config Tool and either a PoE switch or a 12V power supply.
First, connect your laptop to the same switch that the camera is connected to and open Config Tool. Alternatively, you can power the camera using a 12V power supply and connect it to the laptop using an Ethernet cable.
Initializing a camera involves setting a password for it. It is necessary to initialize all cameras manufactured after 2017 before using them. If you have connected the camera to the PoE Port of an NVR manufacturer that was manufactured after 2017, this process should occur automatically.
To access the camera's Web Interface, you need to enter its IP address into the address bar of Internet Explorer. The default IP address for our cameras is 192.168.1.108. In some cases, you may need to modify the IP address of your computer to match the cameras' subnet in order to establish a connection.
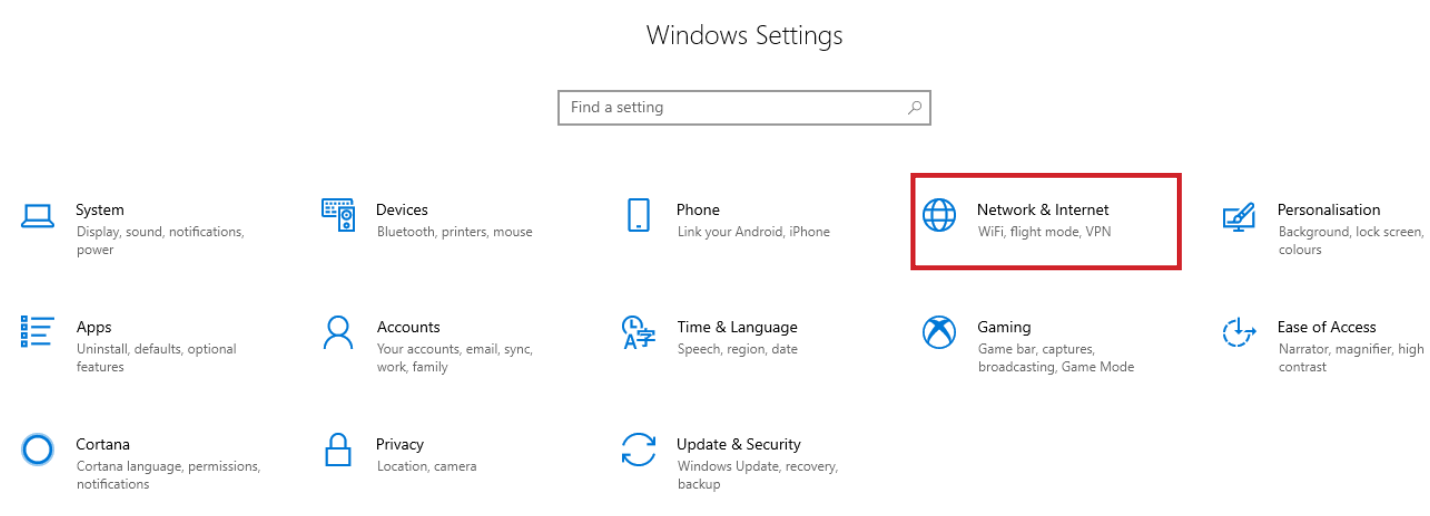
- Open Settings.
- Select Network & Internet.
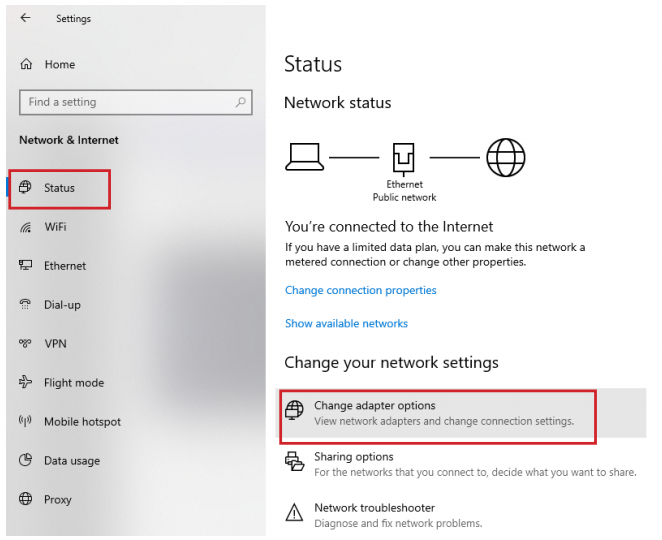
- Select Status, then Change Adapter Options.
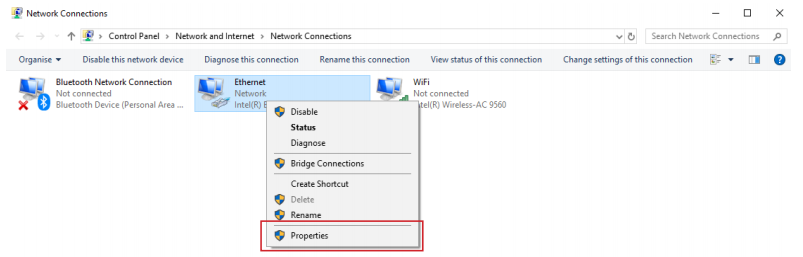
- Right-click the network adapter you want to change the IP address for, and select Properties.
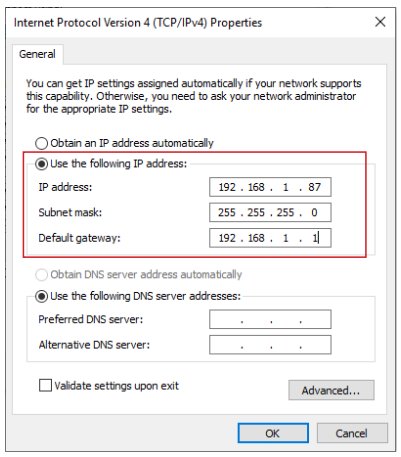
- Select the Internet Protocol Version 4 (TCP/IPv4) item.
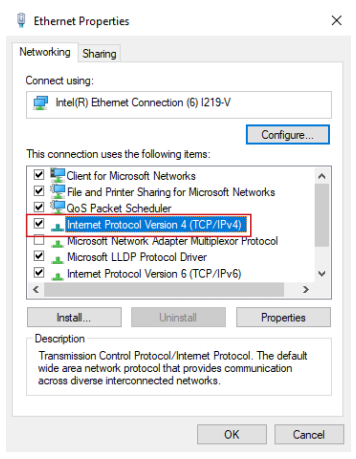
- Select "Use the following IP address" and enter an IP address that falls within the same range as the device you are attempting to access. For example, if you are trying to access a device with the IP address 192.168.1.108, you should use an IP address within the 192.168.1.x range. It is important to note that the IP address you enter cannot be the same as the device you are connecting to or any other device on the same network. After making these changes, remember to save your changes on both windows.
- Enter the IP address of the device you want to access into the address bar of your web browser.
- After you have finished configuring the device, return the adapter settings to their original state by following steps 1-6 and selecting the option to obtain an IP address automatically.
HOW TO INITIALISE CAMERA IN THE WEB INTERFACE
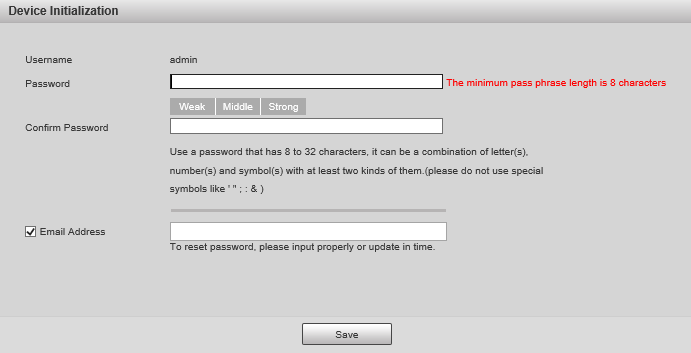
Initialize the camera by entering a new password (It will need to be at least 8 characters long), then click Save.
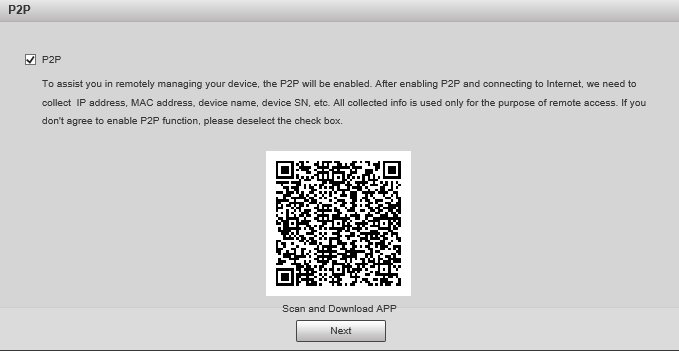
Ensure P2P is enabled and click Next
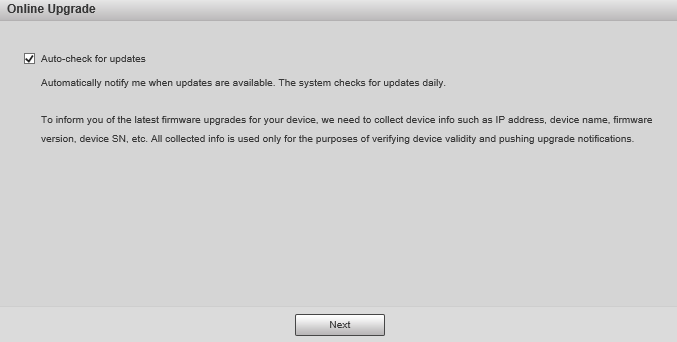
Click Next.
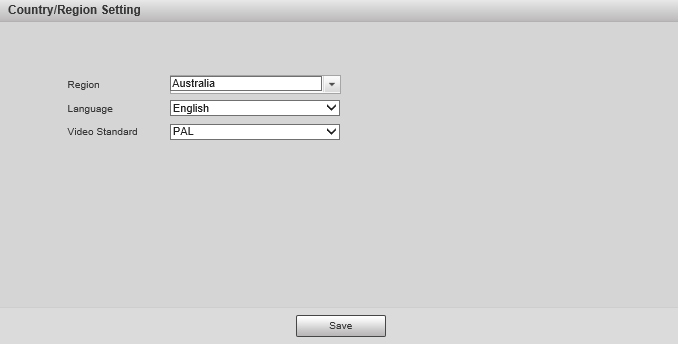
If prompted, select a region and click Save
CONFIG TOOL INITIALISATION
You can also perform the initialization process using our latest version of the Config Tool. This tool not only allows you to initialize multiple cameras simultaneously but also speeds up the overall process. Take a look at the images below to see how it's done.
- Download and open Config Tool.
- Put a check in the box
 next to the device you would like to Initialise, and select the Initialize button.
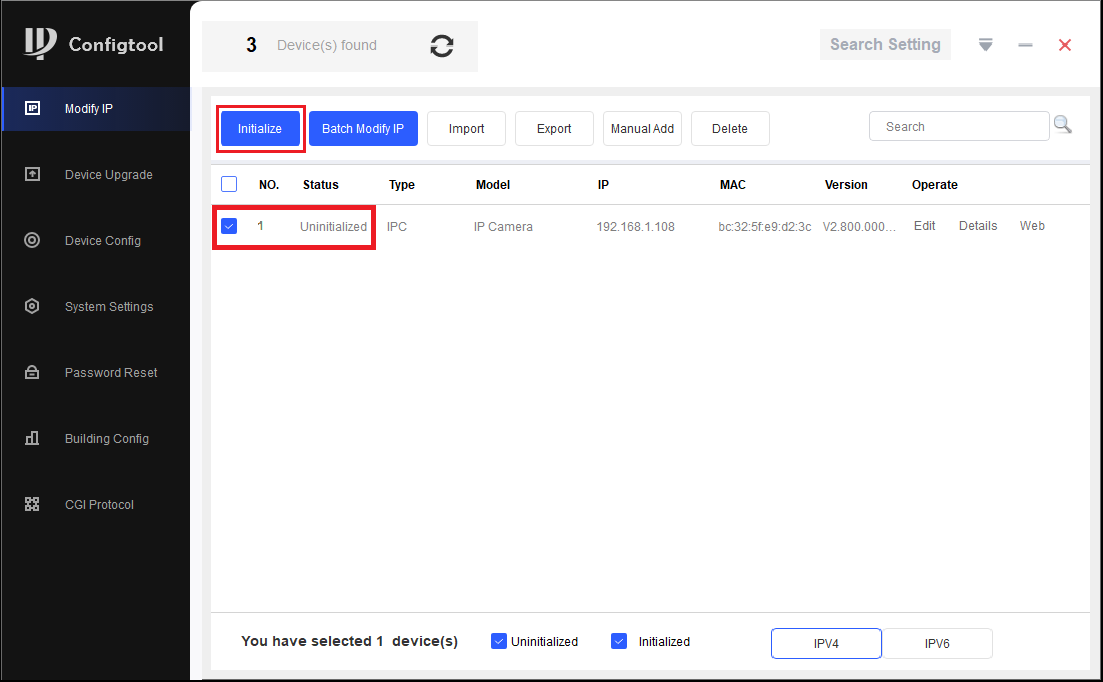
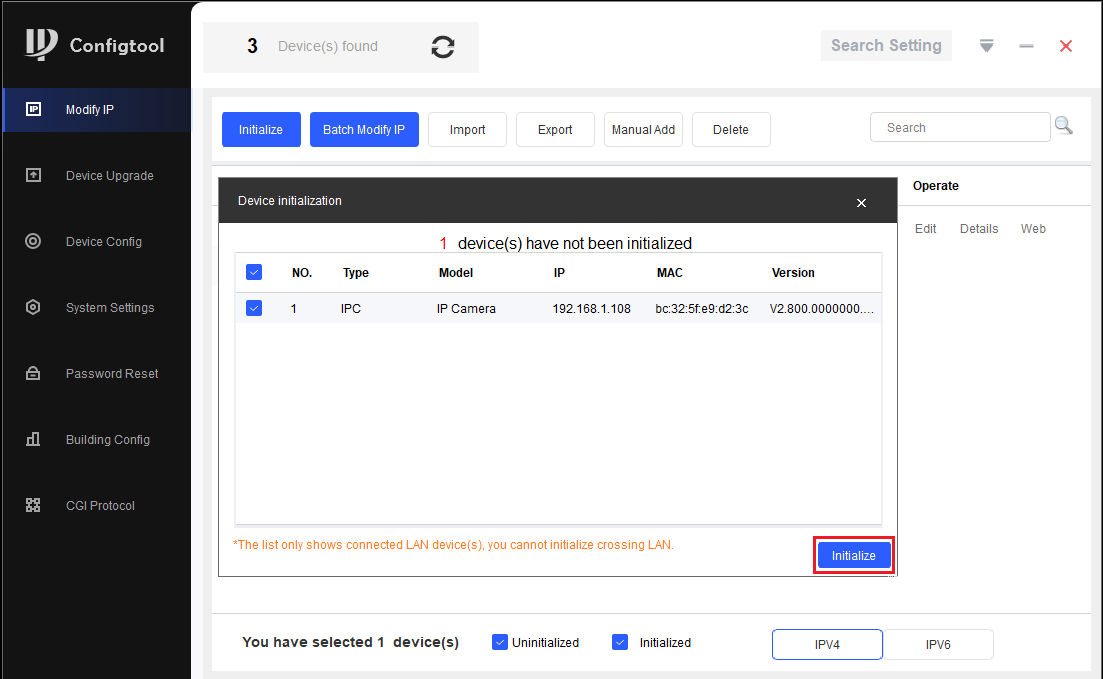
- Select the Initialize button.
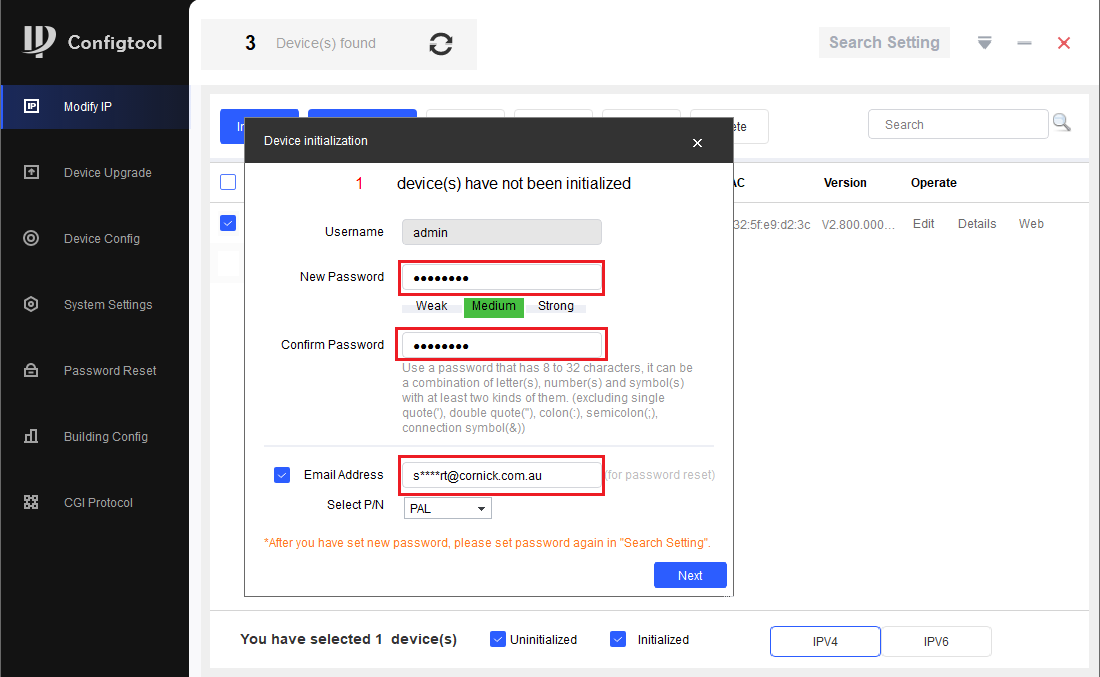
- Enter a password, that is at least 8 characters, and is a mix of letters and numbers. Enter an email address, this will be used if the password is ever forgotten. Select Next.
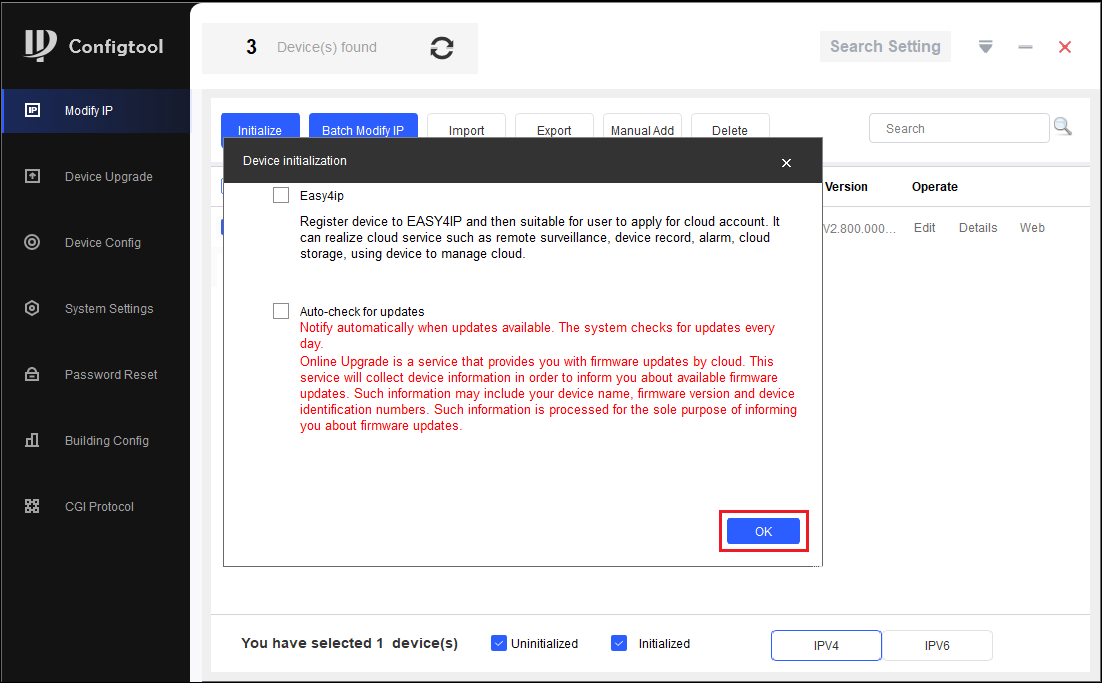
- Depending on the installation requirements, you can check or uncheck the boxes for Easy4IP (P2P Remote Access) and Auto-check for updates. Select OK.
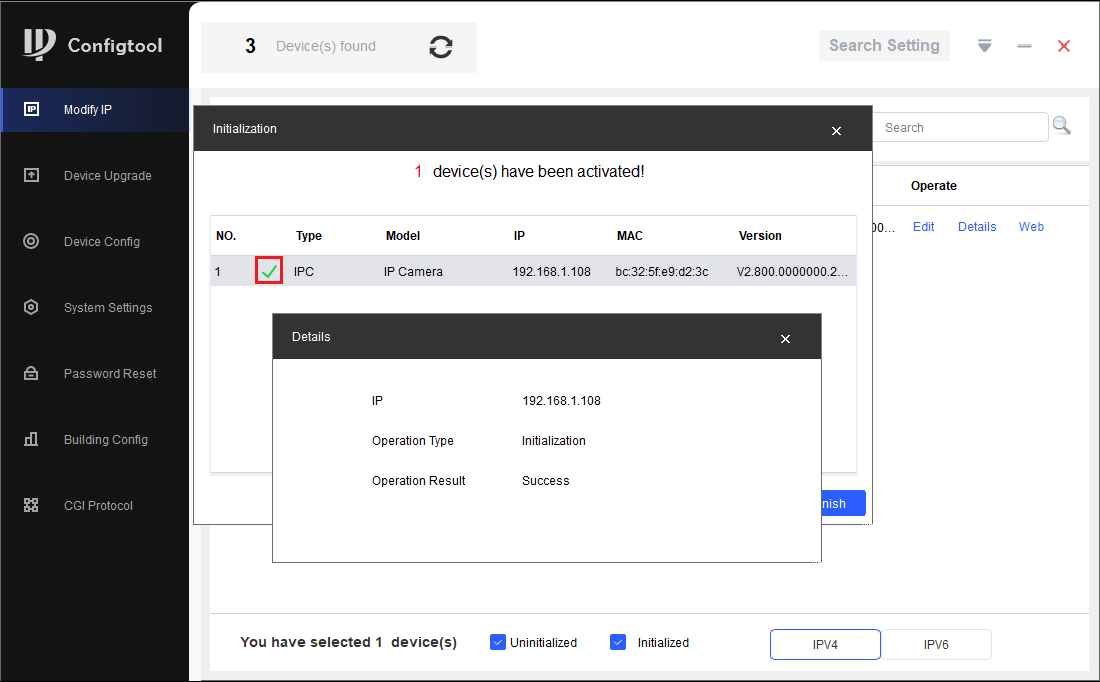
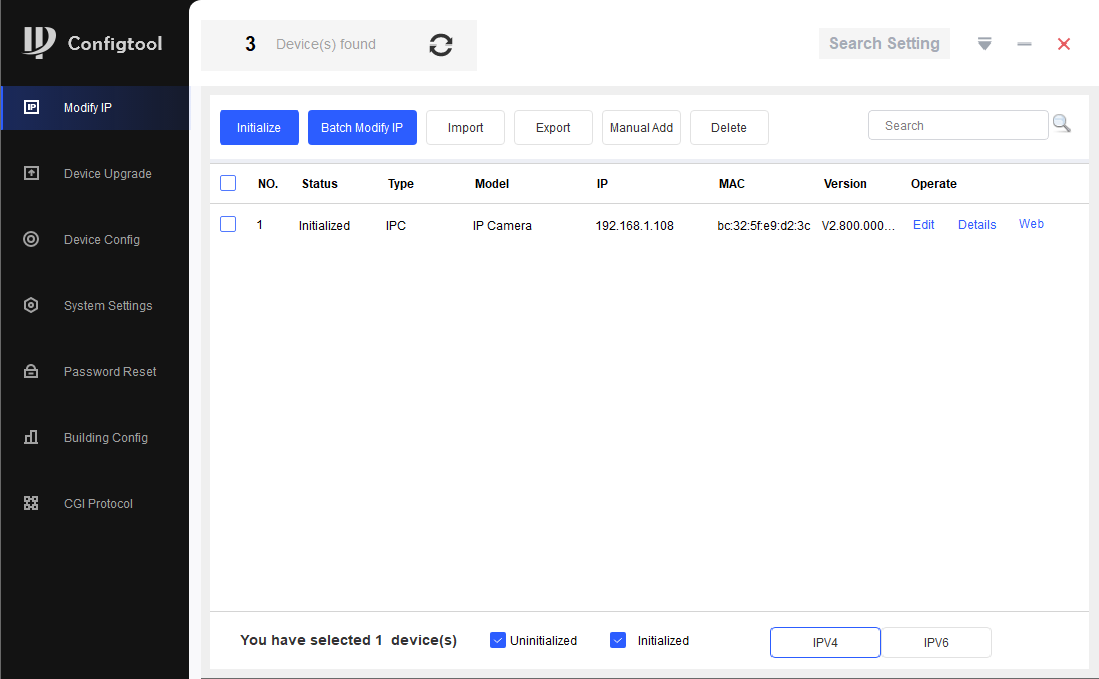
- If the status shows as Initialized, the process was completed successfully.
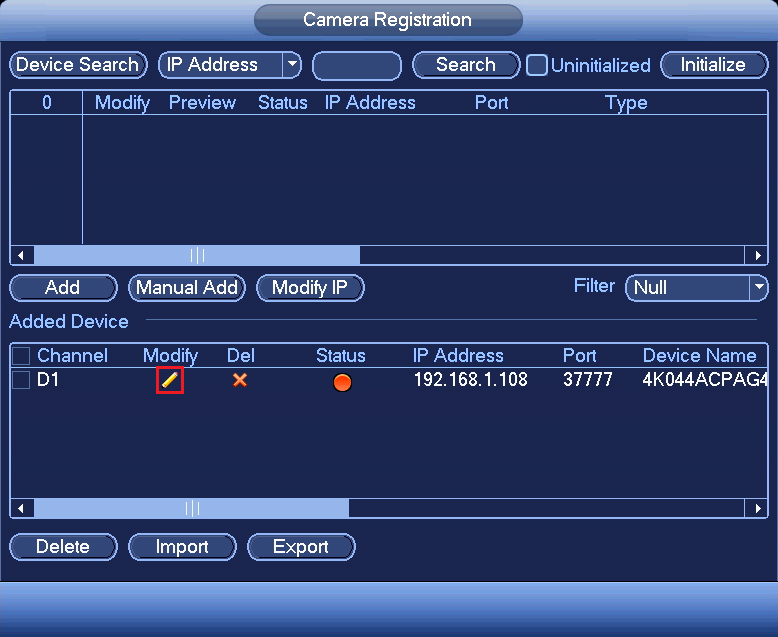
If you are using a PoE Plug and Play NVR like the BREEZE series with older firmware (Typically blue coloured menu), you have the option to connect the camera to the PoE port at this stage. Once connected, allow the NVR to add the camera and navigate to the Camera Registration or Remote Device menu. From there, you can update the password in the added devices section to match the password you set on the camera.
However, it is highly recommended to update the NVR's firmware to avoid any potential loss of camera images in the event of a reboot. Older firmware versions only recognize "admin" as the login username and password, so updating the firmware will ensure better security and functionality.